Butter Poached Lobster Tails Recipe: How to Master It in 7 Steps
Table of Contents
There’s something undeniably luxurious about butter poached lobster tails. The gentle cooking technique transforms the delicate meat into something truly extraordinary – tender, succulent, and infused with rich, aromatic flavors that simply melt in your mouth.
Thank you for reading this post, don't forget to subscribe!How to Make Butter Poached Lobster Tails
Quick Overview
Butter poached lobster tails represent the pinnacle of seafood indulgence – a restaurant-quality dish that’s surprisingly approachable to make at home. This cooking method involves gently simmering lobster meat in a bath of flavored butter, resulting in an incredibly tender texture that simply cannot be achieved through other cooking techniques. The lobster absorbs the rich, velvety butter, creating a depth of flavor that transforms this already luxurious ingredient into something truly sublime.
What makes this recipe special is the poaching liquid itself – an aromatic butter emulsion infused with herbs, citrus, and delicate spices that complement the natural sweetness of the lobster without overwhelming it. While it may sound intimidating, the entire process takes just 35 minutes from start to finish, making it an achievable yet impressive option for special occasions or when you want to elevate a weeknight dinner to something extraordinary.
The Ingredients I Use to Bring My Butter Poached Lobster Tails to Life
For the Lobster:
- 4 lobster tails (4-6 oz each), thawed if frozen
- 3 cups water, for parboiling
For the Poaching Butter:
- 1 pound (4 sticks) unsalted butter, cut into 1-inch cubes
- 2 tablespoons water
- 2 large shallots, thinly sliced
- 3 cloves garlic, crushed but kept whole
- 2 sprigs fresh thyme
- 1 sprig fresh tarragon
- 2 bay leaves
- 1 teaspoon whole black peppercorns
- 1 lemon, zested in strips (avoid white pith)
- 1 tablespoon fresh lemon juice
- 1/2 teaspoon sea salt
For Garnish:
- Fresh chives or tarragon, finely chopped
- Flaky sea salt
- Lemon wedges
Step-by-Step Instructions
Step 1: Prepare the Lobster Tails
Using sharp kitchen shears, cut along the top of each lobster shell from the open end to the tail, avoiding cutting into the meat. Gently spread the shell open and carefully separate the meat from the shell, leaving it attached at the tail end. Lift the meat through the opening you’ve created, then lay it on top of the shell. This technique is called “butterflying” and not only creates an elegant presentation but also ensures even cooking.
Bring 3 cups of water to a rolling boil in a large pot. Add the lobster tails and parboil them for exactly 2 minutes — this brief cooking step helps the meat separate cleanly from the shells. Immediately transfer the tails to an ice bath to stop the cooking. After 1–2 minutes, once cooled, carefully remove the meat from the shells, reserving the shells if you plan to use them for presentation. Gently pat the lobster meat dry with paper towels.
Step 2: Create the Butter Emulsion
In a medium, heavy-bottomed saucepan, combine 2 tablespoons of water with 2 tablespoons of the cubed butter. Heat over medium-low heat, whisking constantly until the butter melts completely. This water-butter mixture creates the foundation for your emulsion. Now, begin adding the remaining butter, one cube at a time, whisking continuously. The key here is patience – add each new cube only after the previous one has been fully incorporated into the emulsion. This process should take about 10-15 minutes.
Maintain a temperature between 160°F and 175°F (use a kitchen thermometer if available). If the mixture gets too hot, the emulsion can break; if too cool, it won’t properly melt and incorporate. The finished emulsion should have a smooth, velvety consistency.
Step 3: Infuse the Butter
Once all the butter has been incorporated into a smooth emulsion, add the sliced shallots, crushed garlic, thyme, tarragon, bay leaves, peppercorns, lemon zest strips, and salt. Reduce the heat to low and let these aromatics gently infuse the butter for 15 minutes, maintaining that critical temperature range of 160-175°F. The butter should barely simmer – you might see tiny bubbles occasionally breaking the surface, but there should be no vigorous bubbling.
Step 4: Strain the Poaching Liquid
After the infusion time, pour the butter mixture through a fine-mesh sieve lined with cheesecloth into a clean saucepan, gently pressing the solids to extract as much flavor as possible. Discard the solids. Stir in the fresh lemon juice to add a bright, refreshing note that balances the richness of the butter. Place the strained butter emulsion back over low heat, carefully maintaining the proper temperature.
Step 5: Poach the Lobster
With your poaching liquid ready, gently lower the lobster meat into the warm butter emulsion. The meat should be fully submerged – if necessary, use a slightly smaller pan so the lobster is completely covered by the butter. Poach the lobster for 5-6 minutes, maintaining that gentle 160-175°F temperature. The meat will gradually become opaque and firm to the touch, but still tender. Be careful not to overcook, as lobster becomes tough quickly.
Step 6: Monitor Temperature Carefully
Watch your poaching temperature vigilantly during this process. If you notice the butter getting too hot, briefly remove the pan from the heat or add a few ice cubes to rapidly bring the temperature down. Conversely, if the temperature drops too much, briefly increase the heat. This temperature control is crucial for perfectly cooked lobster.
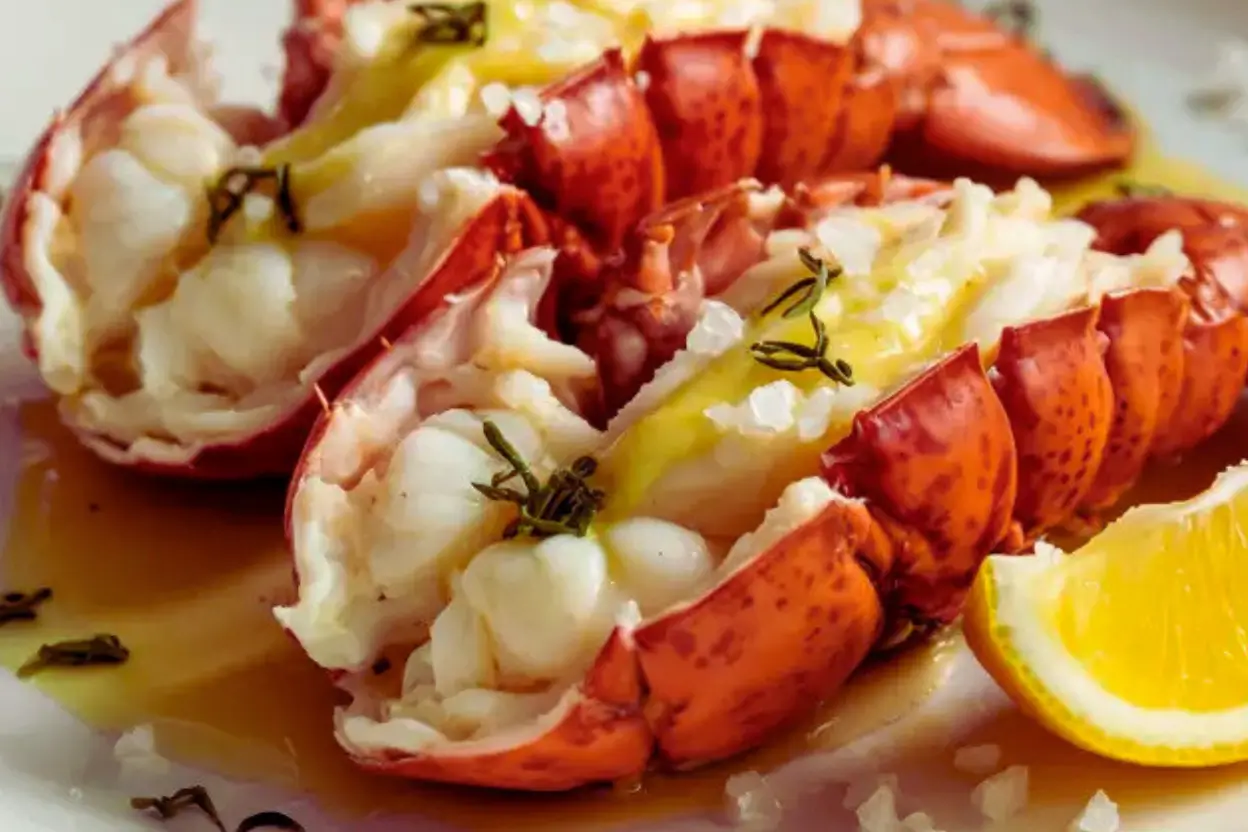
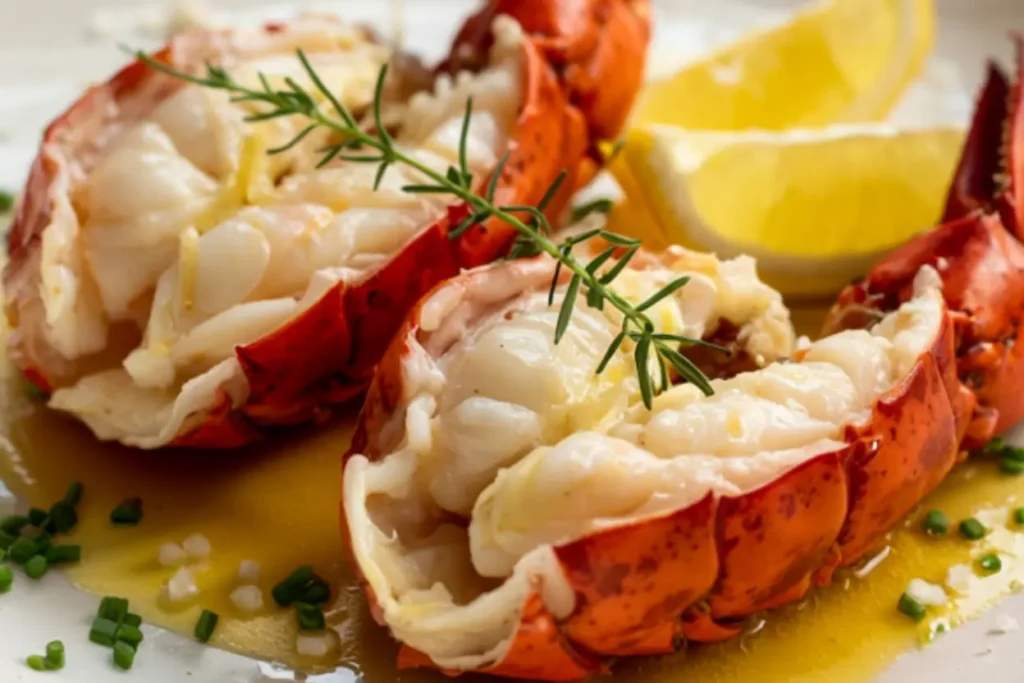
Step 7: Serve with Elegance
Once the lobster is perfectly cooked, use a slotted spoon to carefully remove the tails from the butter bath, allowing excess butter to drip off. For an elegant presentation, you can place each poached tail back into its reserved shell. Drizzle a small amount of the poaching butter over each tail, sprinkle with chopped fresh herbs and a pinch of flaky sea salt, and serve immediately with lemon wedges on the side.
What to Serve Butter Poached Lobster Tails With
Butter poached lobster tails deserve elegant accompaniments that complement their delicate flavor without overwhelming them. Here are some perfect pairings:
- Risotto: A simple lemon risotto provides a creamy base that catches any extra butter sauce. The starchy textures create a beautiful contrast with the tender lobster.
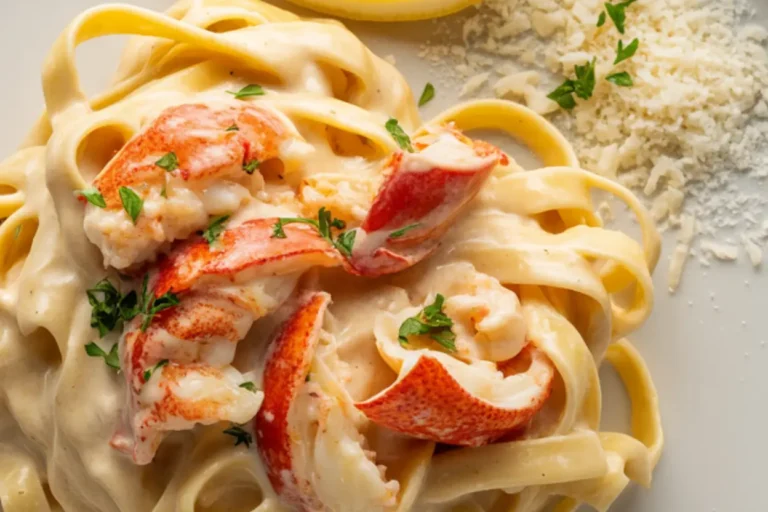
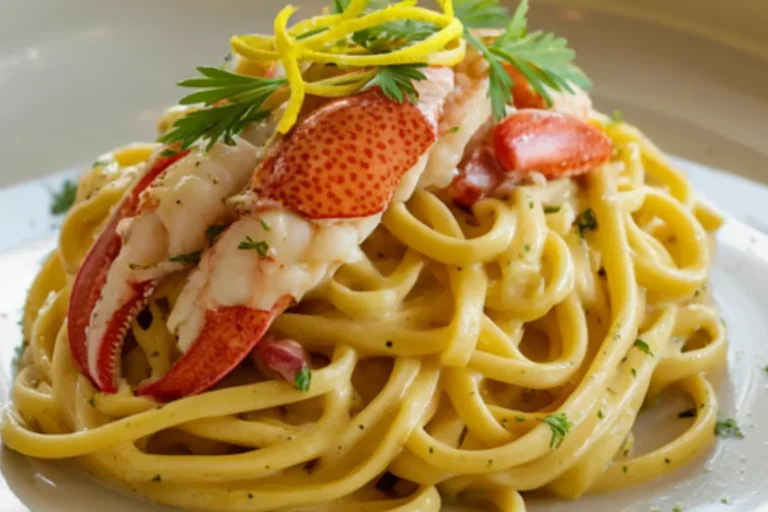
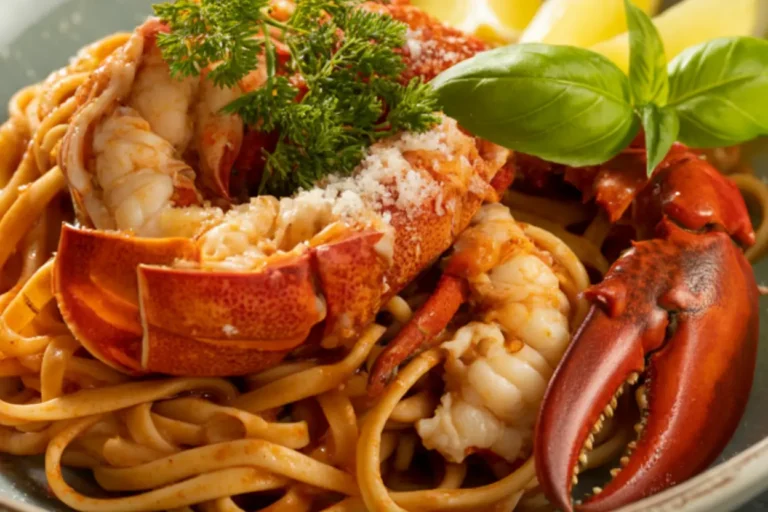
- Angel Hair Pasta: Toss with a light lemon-herb butter sauce and serve the lobster on top for an elevated pasta dish.
- Grilled Asparagus: The lightly charred, earthy flavor of grilled asparagus perfectly complements the rich lobster, while a hint of lemon zest on top brings all the elements together.
- Crisp Champagne or Blanc de Blancs: The acidity and effervescence of these wines slice through the richness of the butter while enhancing the sweetness of the lobster meat.
- Crusty French Bread: Simple yet perfect for soaking up the remaining infused butter – a must-have accompaniment!
- Simple Salad: A light salad with peppery arugula, shaved fennel, and a bright citrus vinaigrette refreshes the palate between bites of rich lobster.
Top Tips for Perfecting Butter Poached Lobster Tails
- Temperature Control is Everything: The ideal poaching temperature of 160-175°F is non-negotiable. Too hot, and your emulsion breaks while the lobster toughens; too cool, and the lobster doesn’t cook properly. Invest in a good digital thermometer with an alarm function if possible.
- Quality of Butter Matters: This dish is all about the butter, so use the highest quality unsalted butter you can find. European-style butters with higher butterfat content create an even more luxurious poaching liquid.
- Fresh vs. Frozen Lobster Tails: While fresh is always preferable, high-quality frozen lobster tails work beautifully in this recipe. Just ensure they’re completely thawed in the refrigerator overnight before cooking.
- Creating a Stable Emulsion: If your butter emulsion starts to separate during cooking, don’t panic. Remove it from the heat immediately and whisk in 1-2 teaspoons of cold water until it comes back together.
- Customizing Aromatics: Feel free to experiment with different aromatics in your poaching butter. Star anise, orange zest, or a tiny pinch of saffron can create interesting variations once you’ve mastered the basic technique.
- Make-Ahead Potential: You can prepare the infused butter emulsion up to 2 days ahead and refrigerate it. When ready to cook, gently reheat it to the proper temperature before adding the lobster.
- Save That Butter!: The leftover poaching butter is liquid gold. Strain it again and refrigerate to use for dipping bread, finishing vegetables, or as a base for an incredible sauce in another dish.
Storing and Reheating Tips
Butter poached lobster tails are best enjoyed immediately after cooking, when the texture is at its peak of tenderness. However, life happens, and sometimes storage is necessary:
Refrigeration: If you have leftover poached lobster, cool it completely in its poaching butter, then transfer to an airtight container. Pour a thin layer of the poaching butter over the top to help preserve moisture. Refrigerate for no more than 24 hours – lobster deteriorates in quality rather quickly.
Freezing: I don’t recommend freezing butter poached lobster. The delicate texture that makes this dish special will be irreparably damaged by freezing, resulting in a tough, rubbery texture when thawed.
Reheating Method: To reheat butter poached lobster tails without overcooking them:
- Let the refrigerated lobster come to room temperature for 20 minutes.
- Heat a small amount of fresh butter in a skillet over very low heat.
- Add the lobster and gently warm for just 1-2 minutes per side until barely heated through. Overheating will cause the lobster to toughen.
Poaching Butter Storage: The strained, used poaching butter can be a valuable ingredient itself. Store it in an airtight container in the refrigerator for up to 5 days or freeze in ice cube trays for up to 3 months. Use it to sauté vegetables, finish sauces, or as a luxurious spread for bread.
By mastering this butter poaching technique, you’re adding a truly impressive culinary skill to your repertoire – one that transforms a special ingredient into an unforgettable dining experience that rivals the finest restaurants.
click here to follow me on pinterest

Butter Poached Lobster Tails Recipe: How to Master It in 7 Steps
Cuisine: French-American / Fine DiningDifficulty: Intermediate4
servings15
minutes25
minutes500-600
kcalTender lobster tails are gently poached in a fragrant, herb-infused butter bath with garlic, shallots, lemon, and fresh herbs. This luxurious dish is elegant yet surprisingly simple, delivering a rich, velvety flavor that melts in your mouth.
Ingredients
4 lobster tails (4-6 oz each), thawed if frozen
3 cups water, for parboiling
1 pound (4 sticks) unsalted butter, cut into 1-inch cubes
2 tablespoons water
2 large shallots, thinly sliced
3 cloves garlic, crushed but kept whole
2 sprigs fresh thyme
1 sprig fresh tarragon
2 bay leaves
1 teaspoon whole black peppercorns
1 lemon, zested in strips (avoid white pith)
1 tablespoon fresh lemon juice
1/2 teaspoon sea salt
Fresh chives or tarragon, finely chopped
Flaky sea salt
Lemon wedges
Instructions
- Prep & Parboil Lobster Tails
Butterfly each lobster tail by cutting along the top shell and pulling the meat out to rest on top. Boil 3 cups of water and parboil the tails for 2 minutes. Transfer to an ice bath, cool, then gently remove the meat and pat dry. - Start the Butter Emulsion
In a saucepan, melt 2 tbsp water with 2 tbsp butter over medium-low heat. Gradually whisk in the remaining butter, cube by cube, until fully melted and emulsified (10–15 mins). Keep temperature between 160–175°F (71–79°C). - Infuse the Butter
Add shallots, garlic, thyme, tarragon, bay leaves, peppercorns, lemon zest, and salt. Simmer gently for 15 minutes without letting the butter boil. - Strain & Finish Butter Sauce
Strain the butter through a fine-mesh sieve or cheesecloth into a clean saucepan. Stir in lemon juice and return to low heat to maintain temperature. - Poach the Lobster Meat
Place the lobster tails in the infused butter. Poach gently for 5–6 minutes, making sure the meat is fully submerged and cooked just until opaque and tender. - Monitor Temperature
Keep a close eye on the butter’s temperature (160–175°F). Adjust the heat as needed or add an ice cube if it gets too hot to prevent the emulsion from breaking. - Plate & Serve
Lift lobster tails out with a slotted spoon. Optionally return to the shell for presentation. Drizzle with butter, sprinkle with chives or tarragon, and flaky sea salt. Serve with lemon wedges.
Notes
- This recipe highlights the art of poaching, cooking gently at low heat to preserve texture and flavor. Using whole butter (not clarified) adds richness and depth, while the aromatics like thyme, tarragon, and lemon zest elevate the seafood beautifully. Be careful not to boil the butter; it should remain warm and silky to keep the lobster moist and tender.