
Squid Ink Pasta Recipe: 5 Steps to Restaurant-Quality Results
Table of Contents
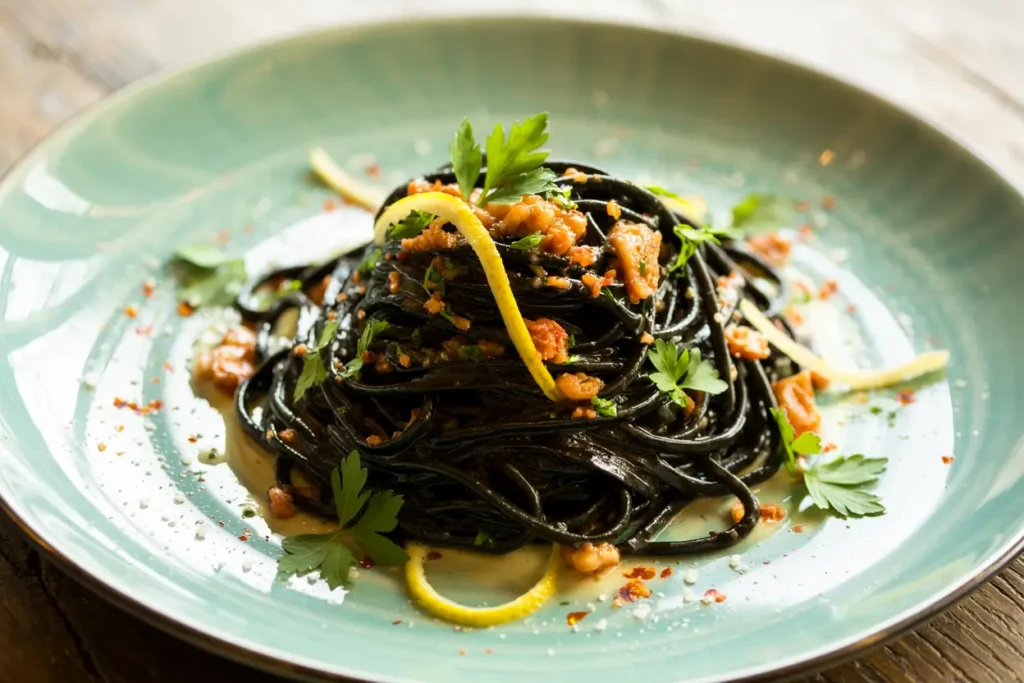
Have you ever ordered the striking black Squid Ink Pasta at a high-end Italian restaurant and wondered if you could recreate that dramatic dish at home? Good news—you absolutely can, and it’s not as intimidating as it might seem. This dramatic pasta not only creates a stunning presentation on the plate but also delivers a subtle briny flavor that perfectly complements seafood. Follow my detailed guide to master this restaurant-worthy dish in your own kitchen.
Thank you for reading this post, don't forget to subscribe!How to Make Squid Ink Pasta: Quick Overview
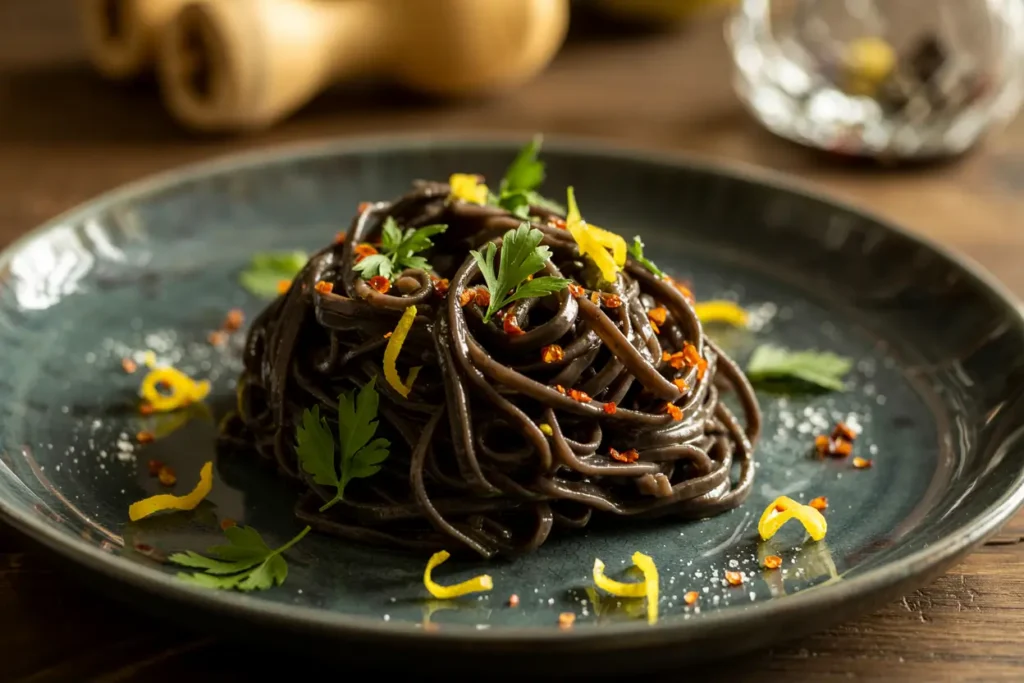
Squid Ink Pasta is a showstopping dish that combines visual drama with delicate oceanic flavors. What makes homemade squid ink pasta special is the beautiful contrast between the deep black color and the delicate pasta texture. The squid ink adds a subtle briny flavor that’s not overly fishy, just enough to enhance seafood pairings. The pasta itself has a silky texture that absorbs sauces beautifully, making each bite incredibly satisfying.
Despite its sophisticated appearance, making Squid Ink Pasta from scratch is surprisingly approachable. The pasta dough comes together in just 15-20 minutes, followed by 30 minutes of resting time. Rolling and cutting takes another 30 minutes, depending on your equipment and experience. All in all, you’re looking at about 90 minutes from start to finish, with plenty of opportunities to pause between steps. The result is a restaurant-quality pasta that will impress even the most discerning dinner guests.
The Ingredients I Use to Bring My Squid Ink Pasta to Life
For the pasta dough:
- 2 cups (300g) “00” flour or all-purpose flour
- 2 whole large eggs
- 4 egg yolks
- 3-4 teaspoons (10-15g) squid ink
- 1/2 teaspoon fine sea salt
- Semolina flour for dusting
For a simple garlic and oil sauce (optional):
- 1/3 cup extra virgin olive oil
- 4 cloves garlic, thinly sliced
- 1/4 teaspoon red pepper flakes
- 1/4 cup fresh parsley, chopped
- Zest of one lemon
- Salt and freshly ground black pepper to taste
Special equipment:
- Food processor or stand mixer (optional, as you can mix by hand)
- Pasta machine or rolling pin
- Pasta cutter or sharp knife
- Clean work surface for rolling
- Kitchen scale (recommended for precision)
Step-by-Step Instructions
Step 1: Create the Perfect Pasta Dough
- Place the flour on a clean work surface, creating a well in the center (volcano method). Alternatively, you can place the flour in a food processor or a stand mixer fitted with a dough hook attachment.
- In a small bowl, thoroughly whisk the whole eggs, egg yolks, squid ink, and salt until the mixture is evenly combined and uniformly dark.
- If using a food processor or stand mixer:
- With the machine running, slowly pour the egg mixture into the flour.
- Process until the dough forms rough crumbs, then pulse a few more times until it comes together into a ball.
- If mixing by hand:
- Pour the egg mixture into the well of flour.
- Using a fork, gradually incorporate the flour from the inner edges of the well.
- Continue incorporating flour until a shaggy dough forms, then use your hands to bring it together.
- Transfer the dough to a lightly floured surface and knead for 8–10 minutes until it becomes smooth and elastic. It should bounce back when pressed and display a consistent black color throughout.
- Form the dough into a ball and wrap it securely in plastic wrap. Allow it to rest at room temperature for at least 30 minutes, or up to 2 hours. This resting time helps the gluten relax, making the dough easier to roll.
Step 2: Roll the Pasta to Perfect Thickness
- After resting, unwrap the dough and cut it into 4 equal pieces. Keep the pieces you’re not working with covered with plastic wrap to prevent drying out.
- Lightly flour your work surface with semolina flour to prevent sticking.
- If using a pasta machine:
- Set the machine to its widest setting (usually #0 or #1).
- Flatten one piece of dough into a rectangle with your hands, then feed it through the machine.
- Fold the dough in thirds like a letter, then feed it through the machine again, still on the widest setting.
- Repeat the folding and rolling process 3–4 times until the dough becomes smooth and evenly black in color.
- Begin narrowing the settings of the pasta machine, rolling the dough through once at each setting without folding.
- For fettuccine or tagliatelle: Roll to setting #5 or #6 (about 1/16 inch thick)
- For filled pasta like ravioli: Roll thinner to setting #7 or #8
- If rolling by hand:
- Roll the dough out as thinly as possible using a rolling pin, aiming for an almost translucent thickness.
- Be patient and apply even pressure, turning the dough occasionally to maintain an even thickness.
- Lay the rolled sheets on a surface dusted with semolina, or hang them on a pasta drying rack if you have one.
Step 3: Cut the Pasta into Your Desired Shape
- Let the pasta sheets dry slightly for about 5 minutes. They should be just barely tacky to the touch, not too wet or too dry.
- If using a pasta machine with cutting attachments:
- Select your desired cutting attachment (fettuccine or tagliatelle work particularly well with squid ink pasta).
- Gently feed each pasta sheet through the cutter, catching the cut pasta with your hand.
- Immediately toss the cut pasta with a light coating of semolina flour to prevent sticking.
- If cutting by hand:
- Lightly dust the pasta sheets with semolina flour.
- Loosely roll each sheet into a flat cylinder.
- Using a sharp knife, cut the roll into strips of your desired width (about 1/4 inch for fettuccine, 1/2 inch for tagliatelle).
- Unroll the strips immediately and toss with semolina flour.
- Form the cut pasta into loose nests and place on a semolina-dusted baking sheet or tray. Cover with a clean kitchen towel if not cooking immediately.
Step 4: Cook the Pasta to Perfect Al Dente
- Bring a large pot of water to a rolling boil, then add 1 tablespoon of salt for every liter of water.
- Unlike dried pasta, fresh squid ink pasta cooks extremely quickly, typically in just 2-3 minutes. Have your sauce and serving dishes ready before cooking.
- Gently drop the pasta into the boiling water, stirring immediately to prevent sticking.
- Begin testing for doneness after 1.5 minutes. The pasta should be tender but still firm to the bite (al dente).
- Reserve about 1/2 cup of the pasta cooking water before draining (this starchy water is excellent for finishing sauces).
- Drain the pasta in a colander, but do not rinse it—the starch on the surface helps sauce adhere to the pasta.
Step 5: Pair with the Perfect Sauce and Serve Immediately
- For a simple garlic and oil sauce (aglio e olio):
- In a large skillet, heat olive oil over medium-low heat.
- Add the sliced garlic and red pepper flakes, cooking until the garlic is just golden (about 2 minutes).
- Add the cooked pasta to the skillet along with 2-3 tablespoons of the reserved pasta water.
- Toss vigorously to coat the pasta with the sauce for 30-60 seconds.
- Remove from the heat and add chopped parsley and lemon zest.
- Season with salt and pepper to taste.
- Transfer to warmed pasta bowls and serve immediately with additional red pepper flakes and freshly grated Parmesan cheese if desired.
- For a dramatic presentation, use tongs to twirl the pasta into a mound in the center of each plate, then arrange accompaniments around it.
What to Serve Squid Ink Pasta With
Squid Ink Pasta’s subtle briny flavor makes it the perfect canvas for seafood-focused sauces and accompaniments:
Seafood Pairings:
- Sautéed shrimp or scallops with garlic and butter
- Steamed clams or mussels in white wine broth
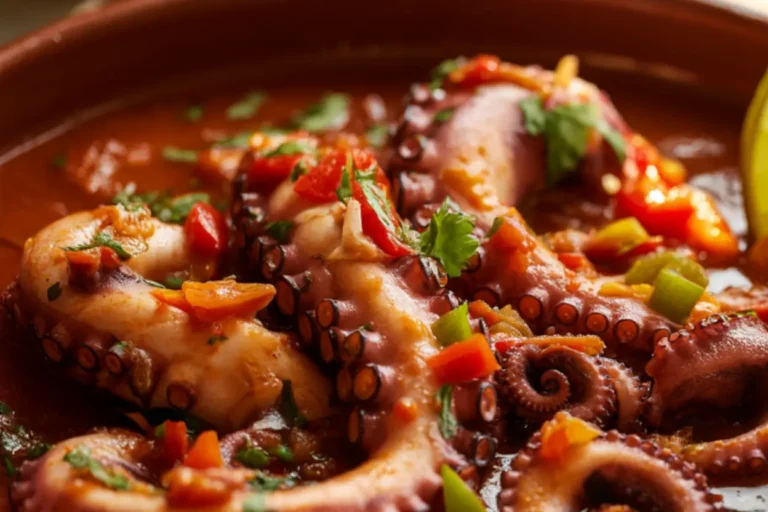
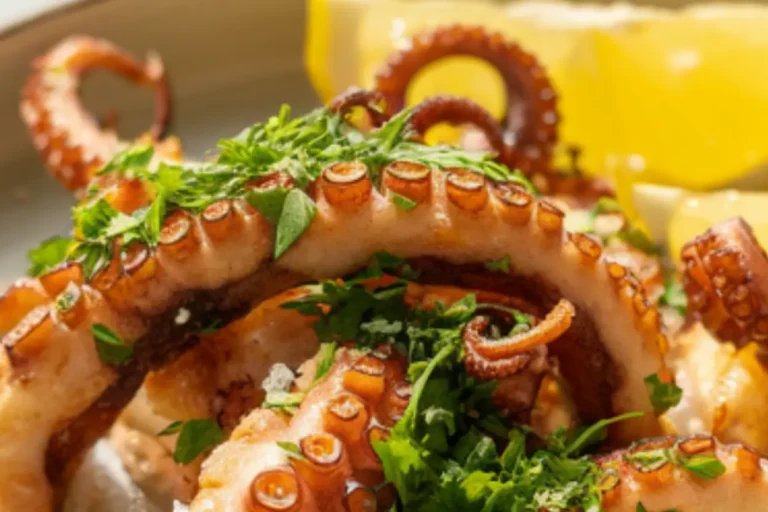
- Grilled calamari with lemon and herbs
- Pan-seared fish like sea bass or snapper
- Lobster chunks in a light cream sauce
Sauces That Complement:
- Simple olive oil and garlic (aglio e olio)
- White wine and butter sauce
- Light cream sauces with lemon
- Fresh tomato and basil sauce
- Seafood-based ragù
Side Dishes:
- Arugula salad with lemon vinaigrette
- Grilled asparagus with lemon zest
- Roasted cherry tomatoes with herbs
- Crusty Italian bread for sauce-sopping
- Sautéed greens like spinach or kale
Wine Pairings:
- Crisp white wines like Pinot Grigio, Vermentino, or Albariño
- Light, unoaked Chardonnay
- Dry rosé from Provence
- Sparkling wines like Prosecco or Champagne
Top Tips for Perfecting Squid Ink Pasta
Sourcing Squid Ink:
- Look for squid ink (sometimes labeled as cuttlefish ink) at specialty food stores, Italian markets, or online retailers.
- It’s often sold in small packets or jars—a little goes a long way.
- In a pinch, you can ask a seafood counter at high-end grocery stores to save you some of their fresh squid.
- Ensure you’re purchasing food-grade squid ink, not decorative ink.
Working with Squid Ink:
- Squid ink can stain everything it touches, including hands, countertops, and clothing. Consider wearing disposable gloves.
- Have a bowl of lemon water nearby to help clean fingers if you get ink on them.
- Use glass or metal bowls rather than plastic, which can be stained permanently.
- Start with a smaller amount of ink and add more as needed—it’s easier to deepen the color than to lighten it.
Flour Choices:
- “00” flour (tipo 00) creates the silkiest texture, but all-purpose flour works well too.
- For added elasticity, substitute up to 25% of the flour with semolina flour.
- If your dough feels too dry, add a tiny bit of water (just a few drops at a time).
- If too wet, add small amounts of flour during kneading.
Troubleshooting Common Issues:
- Dough too crumbly? Add a teaspoon of water at a time until it comes together.
- Is the dough too sticky? Gradually add one tablespoon of flour at a time while kneading.
- Pasta breaking when rolling? Let it rest longer to allow the gluten to relax.
- Uneven color? Knead longer to distribute the ink more thoroughly.
Equipment Alternatives:
- No pasta machine? A rolling pin works, though you’ll need patience and muscle.
- No food processor? Hand mixing creates excellent pasta with a bit more effort.
- No pasta rack? Clean coat hangers or the back of a chair can work for drying pasta.
Storing and Reheating Tips
Fresh Uncooked Pasta:
- Fresh Squid Ink Pasta can be used immediately or stored for short periods.
- To store fresh pasta, generously dust it with semolina flour and arrange it flat on a parchment-lined baking sheet.
- Fresh pasta can be refrigerated for up to 2 days. Cover with plastic wrap to prevent drying.
- For longer storage, freeze the pasta on a baking sheet until solid (about 1 hour), then transfer to airtight containers or freezer bags.
- Frozen fresh pasta can be stored for up to 1 month and doesn’t need to be thawed before cooking—just add 1-2 minutes to the cooking time.
Cooked Pasta:
- Ideally, only cook as much pasta as you’ll eat immediately, as fresh pasta doesn’t reheat as well as dried.
- If you must store cooked Squid Ink Pasta, toss it with a small amount of olive oil to prevent it from sticking.
- Refrigerate cooked pasta in an airtight container for up to 3 days.
- Avoid freezing cooked pasta, as the texture suffers considerably.
Reheating Method:
- The best way to reheat cooked Squid Ink Pasta is to place it in a colander and dip it into boiling water for 30 seconds.
- Alternatively, reheat in a skillet with a splash of water or broth over medium-low heat, tossing frequently.
- Microwave reheating is not recommended as it can make the pasta gummy, but if necessary, use 50% power and add a splash of water, covering the dish.
Sauce Storage:
- If you’ve prepared a sauce for your Squid Ink Pasta, store it separately from the pasta when possible.
- Most sauces can be refrigerated for 3-4 days or frozen for up to 3 months.
- Cream-based sauces may separate when frozen, so they’re best made fresh.
With these detailed steps and tips, you’re well-equipped to create restaurant-quality Squid Ink Pasta at home. The dramatic black color creates a stunning presentation, while the subtle oceanic flavor provides the perfect backdrop for seafood-based sauces. Don’t be intimidated by the unique ingredient—embrace the opportunity to create a truly memorable culinary experience that will impress family and friends alike. Happy pasta-making!
click here to follow me on pinterest
Squid Ink Pasta Recipe: 5 Steps to Restaurant-Quality Results
Cuisine: ItalianDifficulty: Intermediate4
servings45
minutes3
minutes400-450
kcalSquid Ink Pasta is a striking, jet-black pasta known for its subtly briny, oceanic flavor and dramatic appearance. Made with a classic egg dough enriched by squid ink, it’s typically paired with simple, aromatic sauces that let the pasta’s unique taste shine. This handmade version delivers both elegance and depth, ideal for a special occasion or an adventurous dinner.
Ingredients
2 cups (300g) “00” flour or all-purpose flour
2 whole large eggs
4 egg yolks
3-4 teaspoons (10-15g) squid ink
1/2 teaspoon fine sea salt
Semolina flour for dusting
1/3 cup extra virgin olive oil
4 cloves garlic, thinly sliced
1/4 teaspoon red pepper flakes
1/4 cup fresh parsley, chopped
Zest of one lemon
Salt and freshly ground black pepper to taste
Food processor or stand mixer (optional, as you can mix by hand)
Pasta machine or rolling pin
Pasta cutter or sharp knife
Clean work surface for rolling
Kitchen scale (recommended for precision)
Instructions
- Make the Dough
Whisk whole eggs, yolks, squid ink, and salt. Combine with flour (by hand, food processor, or stand mixer) to form a dough. Knead until smooth and elastic (about 8–10 minutes). Wrap in plastic wrap and let rest for at least 30 minutes. - Roll the Dough
Divide the dough into 4 pieces. Using a pasta machine or rolling pin, roll each piece into thin sheets (setting #5–#6 for fettuccine). Dust with semolina to prevent sticking and keep unused dough covered. - Cut the Pasta
Let the sheets dry slightly (5 minutes). Cut using a pasta machine or by hand into desired shapes like fettuccine or tagliatelle. Toss the cut pasta with semolina and form into nests. Cover if not cooking immediately. - Cook the Pasta
Boil salted water. Cook pasta for 2–3 minutes until al dente. Reserve some pasta water before draining. Do not rinse. - Sauce and Serve
Sauté garlic and red pepper flakes in olive oil. Toss in cooked pasta with a splash of pasta water. Finish with parsley, lemon zest, salt, and pepper. Serve immediately for maximum flavor and visual appeal.
Notes
- This pasta is as much about visual impact as it is about flavor. Squid ink adds a delicate salinity and umami depth, making the dough slightly more tender and flavorful than regular pasta. While you can mix and roll by hand, using a pasta machine helps achieve an even thickness. The final touch of garlic, lemon zest, chili flakes, and parsley keeps things light, letting the pasta take center stage. Serve with seafood or keep it minimalist, either way, it’s unforgettable.